Installing Aluminum Gutters
Purchasing Gutters
We purchased our gutters online from Classic Gutter Systems. They provide excellent help and installation guidance.
Cast Brackets
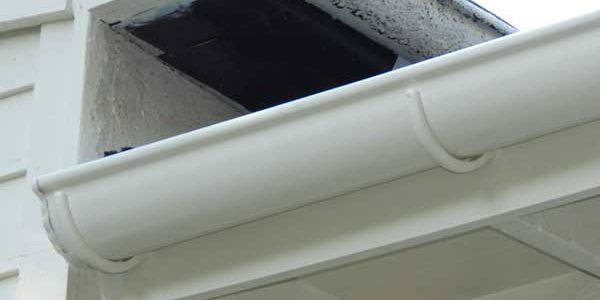
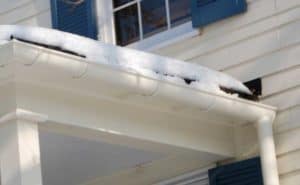
They offer a cast aluminum hanging bracket that attaches with a 4" screw into your rafter. While these brackets are expensive, they are extremely strong removing the need of roof straps. They will also hold up in the snow.
We decided to install six inch half round gutters ourselves. It turns out that this was not as difficult as we thought. We chose to use heavy gauge aluminum since it will last much longer than galvanized metal and will not rust.
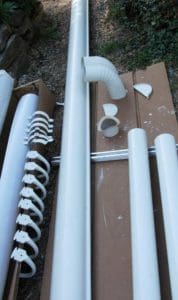
The gutters arrived by freight in a 28 foot long box. After viewing the enclosed DVD and a phone call to the company to answer a few questions, the installation proceeded as follows.
1. Paint the gutters. Because we were painting our gutters, we had ordered low gloss white. First the surfaces were lightly sanded (Use 100 grit or a plastic sanding cloth). Then they were primed with Zinsser Bulls Eye 1-2-3 Primer and coated with two coats of Behr exterior semigloss.
2. Attach the end caps and downspout outlet. The end caps and downspouts were attached using stainless steel screws according to the instructions. An end cap crimper isn't worth the cost unless you are doing lots of gutters. Silicone sealant is provided. The instructions caution never to place a screw in the water channel. An exception is the downspout outlet.
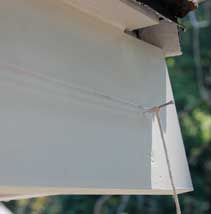
3. Determine the slope. Run a level string between the two ends of the fascia board. Then move the string down 1/16th of an inch for every linear foot. [Figure A]
You have to be very careful in your marking so that the brackets and gutter bottom touch when installed.
Therefore, I installed the beginning and end brackets and then ran a taut line [photo] along their bottoms. I then used this line to mark the holes or the remaing brackets. This assured me the gutter would rest correctly.
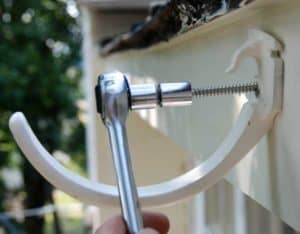
4. Screw in the brackets. Use the 4" stainless screws purchased to screw the bracket into the roof rafters. If your fascia board is attached to a back structure, shorter screws can be used. Classic Gutter Systems will provide guidance. [Figure B]
We had to use a ratchet wrench to screw in the bracket because of the tightness of the wood.
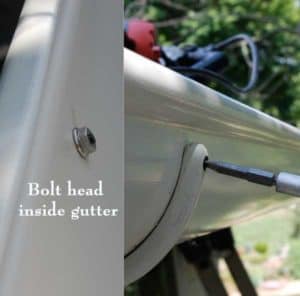
5. Attach the gutters to the brackets. Slip the back end of the gutter into the back of the bracket. Then holding the gutter so it lays flat on the bracket, drill a hole for the stainless steel bolt that attaches the gutter to the bracket. [Figure C]
If your roof is flat, you will not need a second person to help.
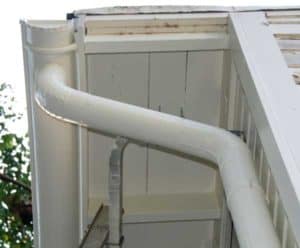
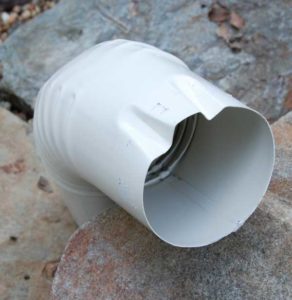
6. Attach the downspouts. If your downspouts are recessed from the gutter, you have to use two elbows to make the gutter/downspout connection. You may have to insert a downspout piece to make the fit. [Figure D]
The instructions say to crimp around the downspout pieces using a crimper or needle nose pliers. However, because we were using smooth downspouts, we did not want to see a bunch of crimps at each junction. Therefore, we just made two large crimps [photo] on the downspout in a position that would not show. These crimps can be seen in Figure E.
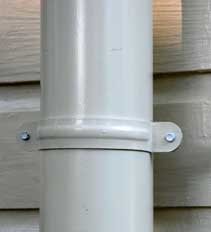
7. Downspout brackets. We used downspout brackets that had one back screw that attached to the siding. However, many other options are available. We chose this style so there would be breathing room around the downspout. [Figure F]
|
Help support this site
|
